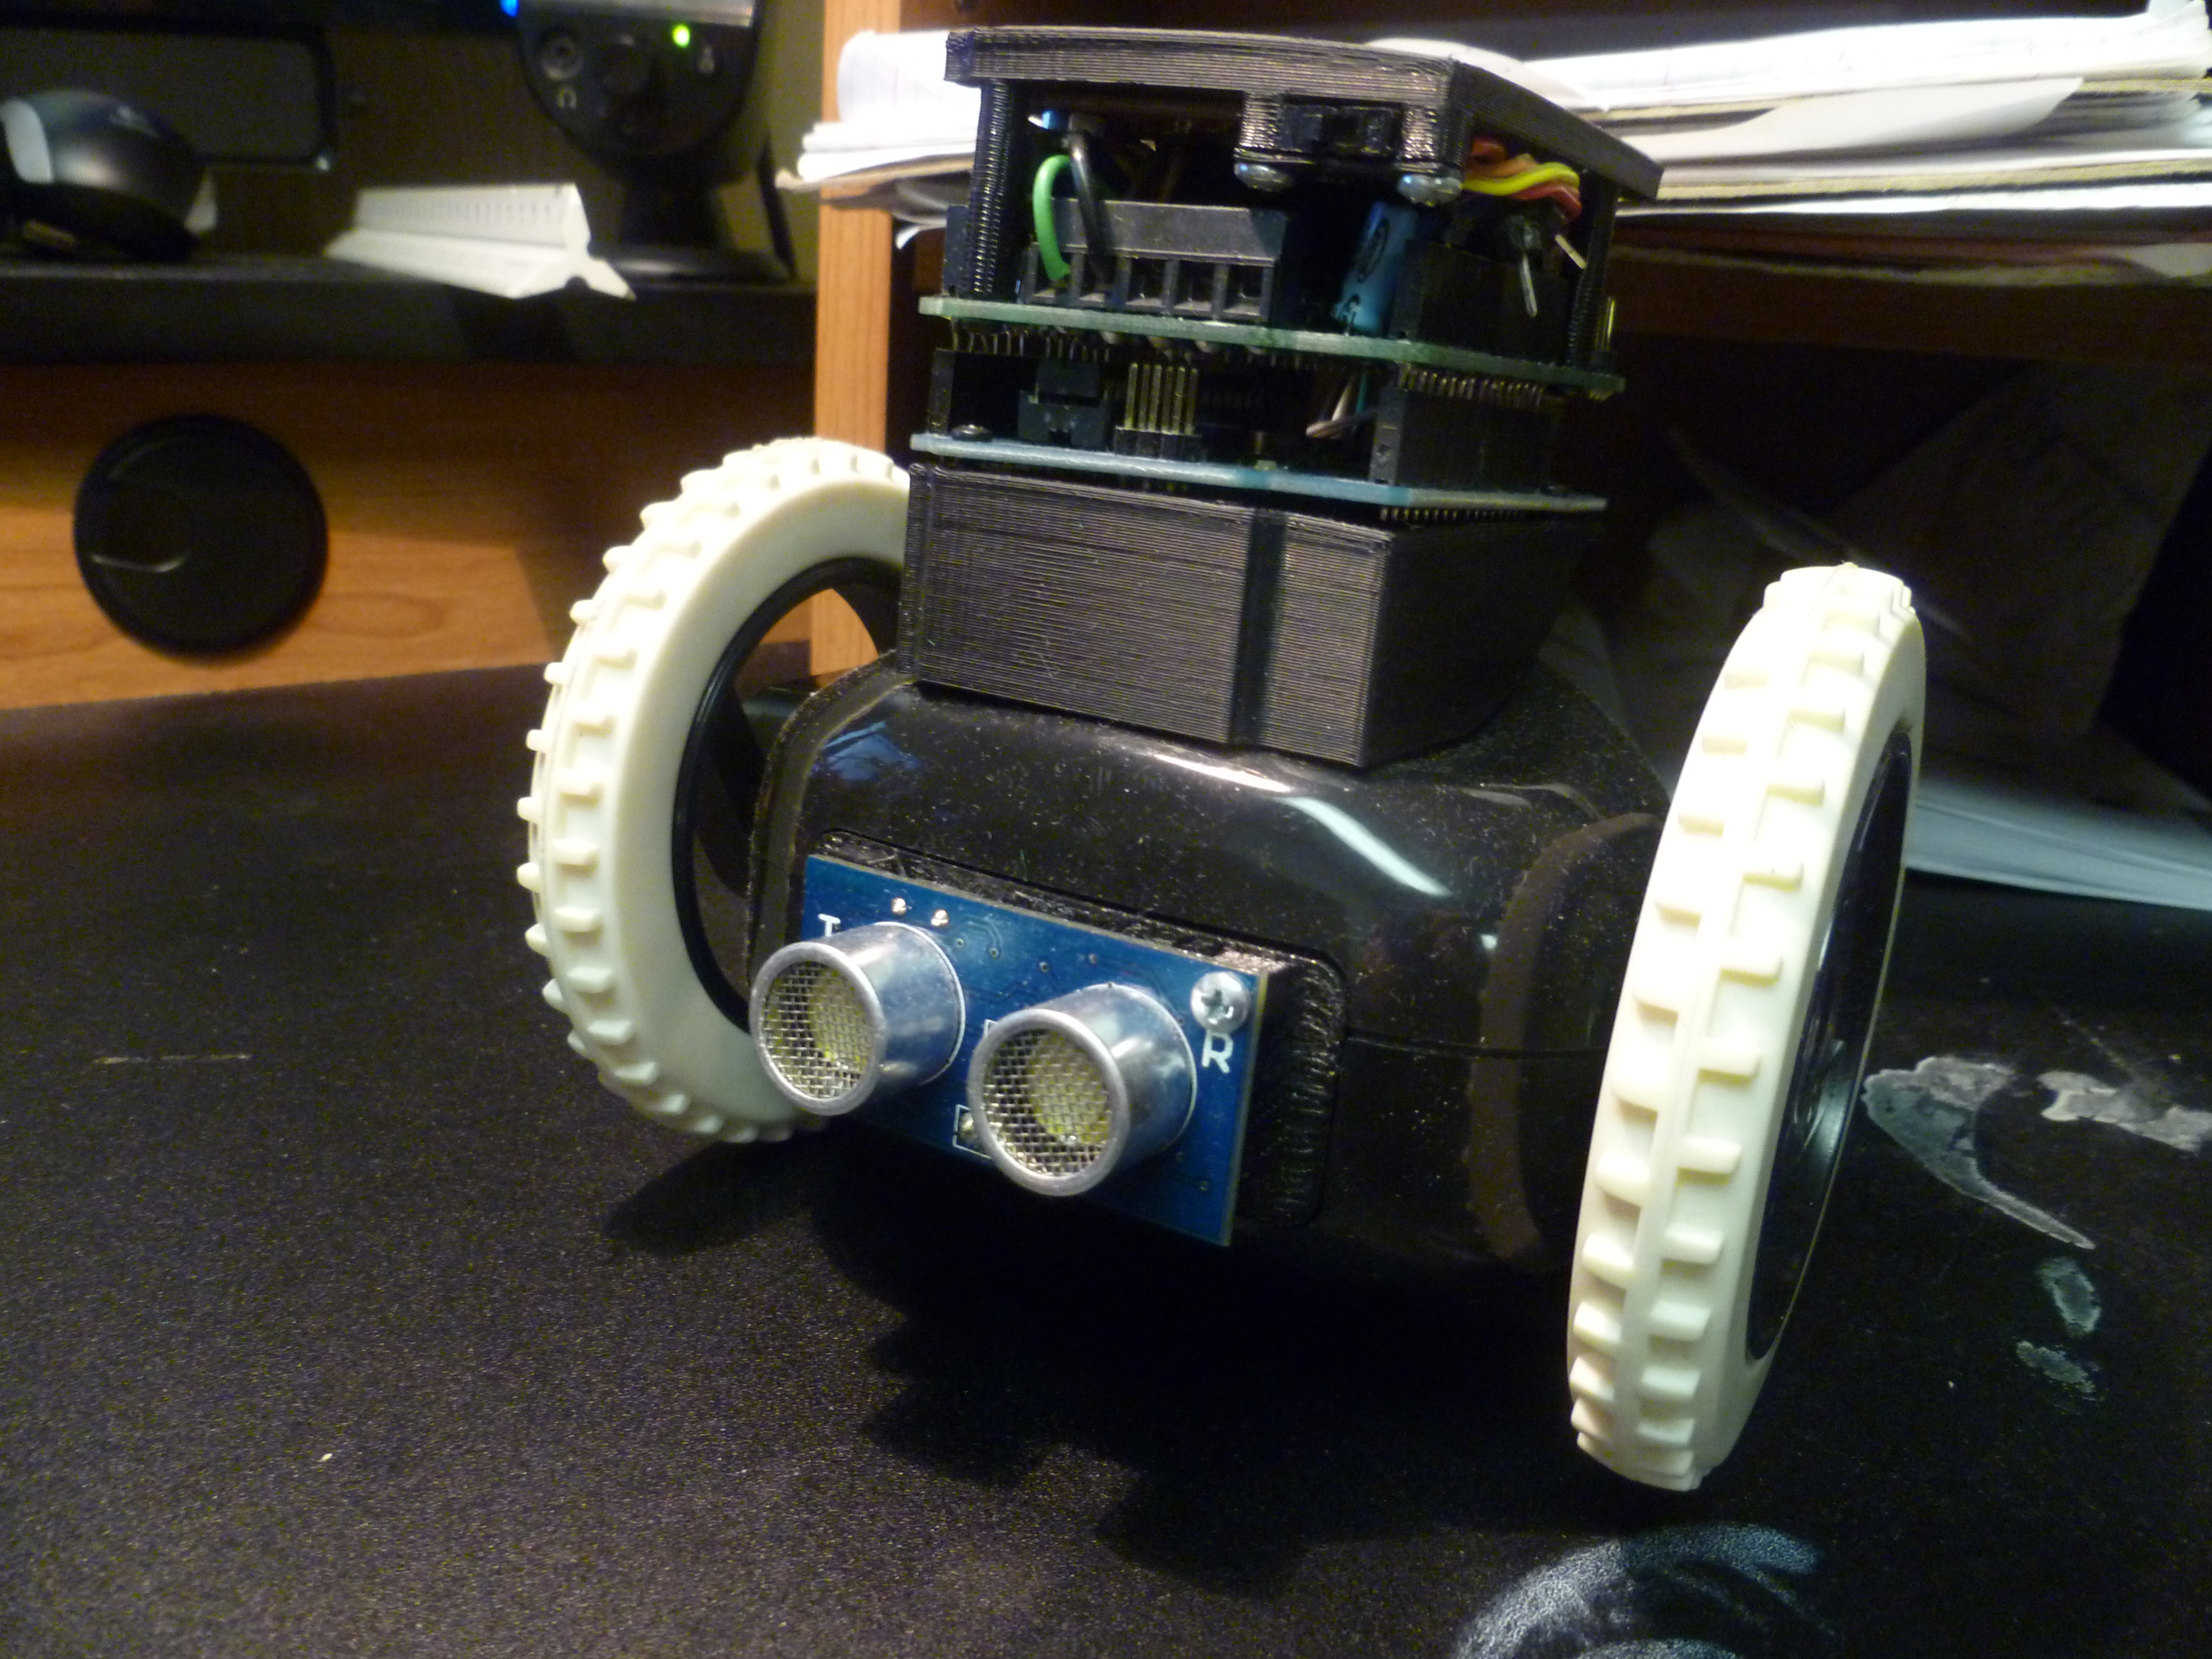
Oscar 2.0, doing a bit of his thing.
Teaser Videos
Reply

Oscar 2.0, doing a bit of his thing.
So much has happened since my last post (moving to Boston, working full-time on the firmware for thousands of Amazon robots, getting married, etc.), I really don’t know where to begin.
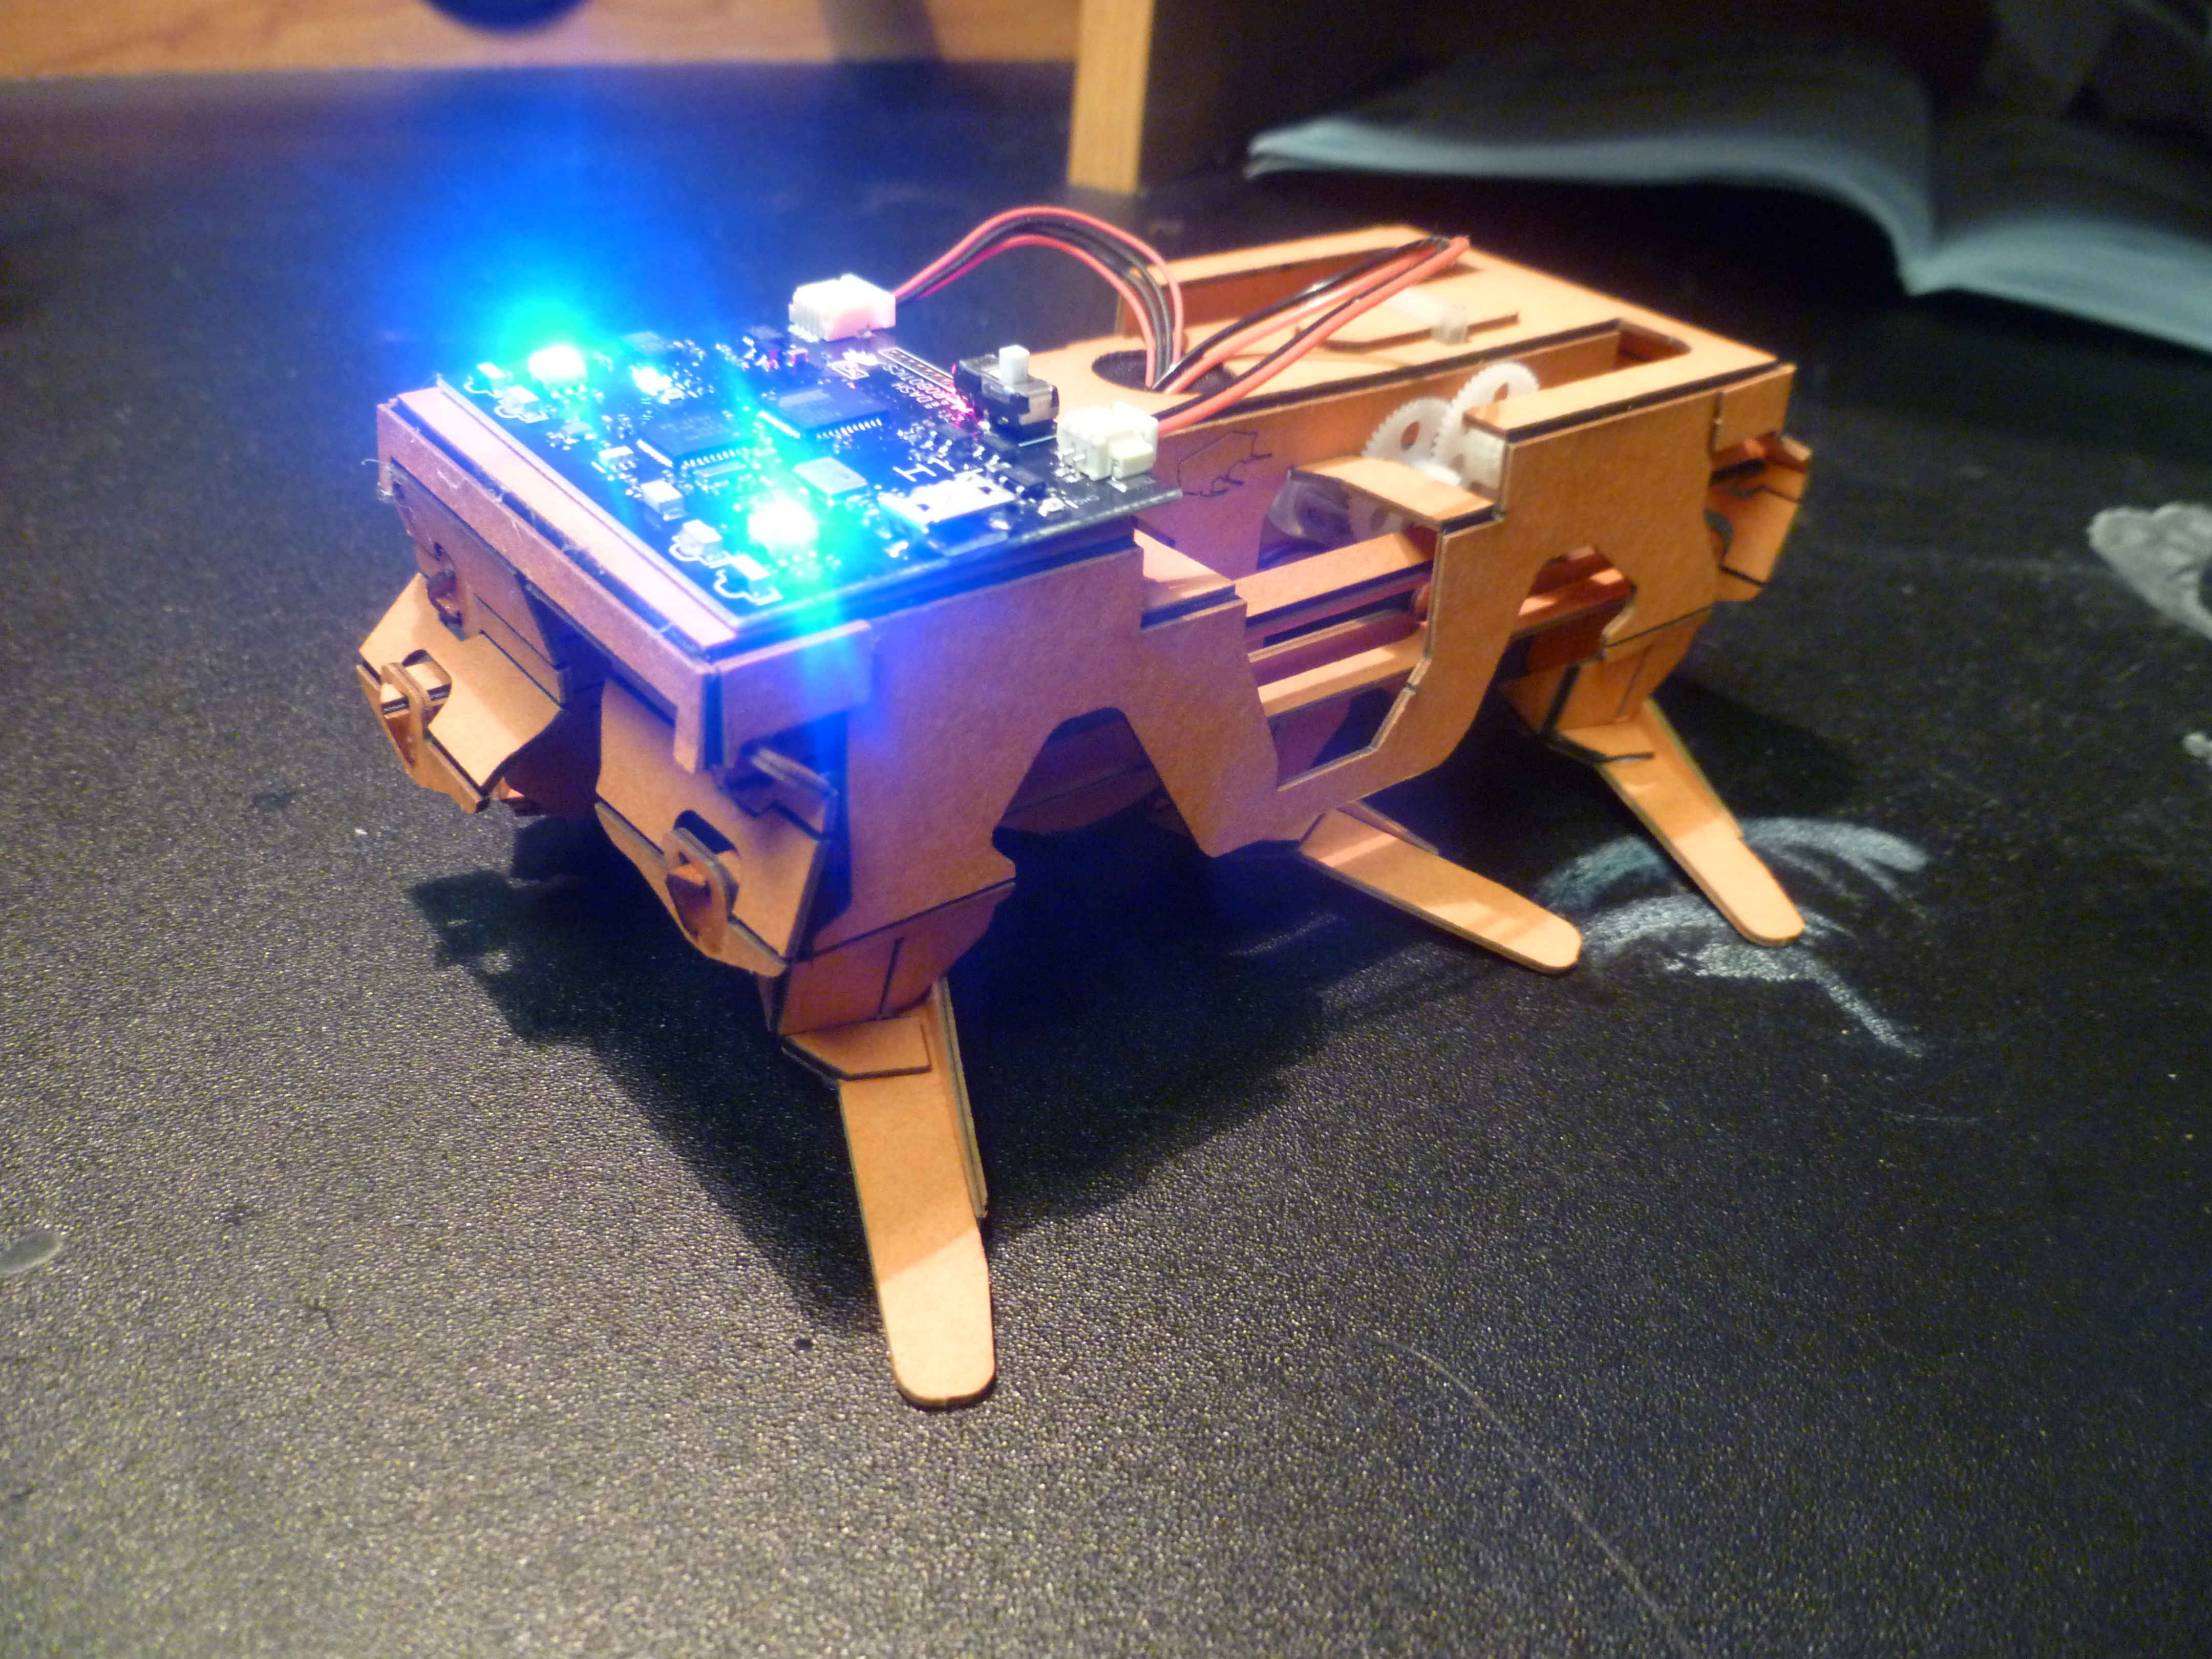
I’ve got a pile of new projects (plus some old ones I never got time to tell you about) that I do plan on posting to here in the very near future. In the mean time I’ll just leave you with a few pictures to tide you over till I find some time to write more.


As a brief experiment into rapid logging of sensor data and equally fast transmission of that data to a PC I have written a couple sketches for the Arduino and Processing to do just this. The goal is to read from an analog sensor on the Arduino (which will eventually consist of some sort of biometric sensor like a PPG sensor) at a rate of close to 1kHz, log the data to a data logger, and transmit the data wirelessly to a computer running Processing. The simple Arduino sketch attempts to use its built-in timers to read the sensor at 1kHz as well as log and transmit the data.
/*
 This example shows how to read and write data to and from an SD card file
 The circuit:
 * SD card attached to SPI bus as follows:
 ** MOSI - pin 11
 ** MISO - pin 12
 ** CLK - pin 13
 ** CS - pin 10
*/

#include <SD.h>
#define CS 10
#define BUTTON 15
File myFile;
int PPG = 0;

void setup()
{
  Serial.begin(57600);
  Serial.println("Initializing SD card...");
  // On the Ethernet Shield, CS is pin 4. It's set as an output by default.
  // Note that even if it's not used as the CS pin, the hardware SS pin
  // (10 on most Arduino boards, 53 on the Mega) must be left as an output
  // or the SD library functions will not work.
   pinMode(CS, OUTPUT);
   analogReference(EXTERNAL);

//  if (!SD.begin(CS)) {
//    Serial.println("initialization failed!");
//    return;
//  }
//  Serial.println("initialization done.");

  // open the file. note that only one file can be open at a time,
  // so you have to close this one before opening another.
  //myFile = SD.open("logTest.txt", FILE_WRITE);
  int analogVal = 0;
  // if the file opened okay, write to it:
  //if (myFile) {
    //Serial.println("Writing to logTest.txt...");
    //**********//

    long period = micros();
    long startTime = millis();
    long number = 0;
    // A LED on pin 2 indicates when the system is running
    pinMode(2, OUTPUT);
    digitalWrite(2, HIGH);
    Serial.println("$$$");
    // While the button is not pressed (1) read the sensor
    while(digitalRead(BUTTON) == 1) {
      int i = 0;
      while(i < 1000) {
        if((micros() - period) >= 830) {
          analogVal = analogRead(PPG);
          period = micros();
          //myFile.println(analogVal);
          Serial.println(number);
          i++;
          number++;
        }
      }
    }
    long endTime = millis();
    digitalWrite(2, LOW);

    //**********//
    //myFile.close();  // close the file:
    //Serial.println("\ndone writing to logTest.txt");
    Serial.print("It took ");
    Serial.print(endTime - startTime);
    Serial.print(" mSec to write ");
    Serial.print(number);
    Serial.println(" integers to the SD card%");
  //} else {
    // if the file didn't open, print an error:
  //  Serial.println("error opening logTest.txt");
  //}
}

void loop()
{
	// nothing happens after setup
}
The Processing sketch is written to use the serial library to connect to an Xbee through a virtual serial port. It looks for a transmission starting character, in the Arduino sketch this is “$$$” and then logs all the remaining data to a file named “log.txt” until it sees the end of transmission character which has been arbitrary selected as “%” for this test.
import processing.serial.*;

Serial myPort;

PrintWriter out_f;

void setup() {
  size(200, 200);
  println(Serial.list());
  String portName = Serial.list()[1];
  myPort = new Serial(this, portName, 57600);
  out_f = createWriter("log.txt");
}

void draw()
{
  while ( myPort.available() > 0) {  // If data is available,
    char c = char(myPort.read());
    if (c == '\r' || c == '$') {
      int h = hour();
      int m = minute();
      int s = second();
      int mill = millis();
      println("\t"+h+":"+m+":"+s+"."+mill%1000);
      out_f.print("\t"+h+":"+m+":"+s+"."+mill%1000);
      out_f.flush();
    }
    else if(c == '%') {
      out_f.close();
    }
    else {
      print(c);
      out_f.print(c);
      out_f.flush();
    }
  }
}
In addition to logging the transmitted sensor data, the Processing sketch also adds a time-stamp to the data as well which consists of the hour, minute, second, and thousands of a second when each data-point was received. Each character is written to the file separately and the time-stamp is only added when a new data-point is detected (as a newline character ‘\r’).
For the University of Louisville Electrical and Computer Engineering Class, ECE 613 “Computational Methods for Data Analysis” taught by Dr Zurada, we were instructed to find a demo of Kohnen Self Organizing Feature Maps (SOFM), or for extra credit to create one of our own. I read a brilliant tutorial about SOFM and updated the java version of their example demo to work with Processing. I also added a user interface which allows for the selection of the input vectors. Thanks AI Junkie for the tutorial and backend code. If anyone is interested in neural networks or SOFM please check out their tutorials. I have hosted the Processing sketch at OpenProcessing.org, but unfortunately WordPress does not allow the applet to be directly embedded in this blog.
Kohonen’s Self Organizing Feature Map Demo

So here’s the deal. Last year I took a class named “Machine Learning”, in which we learned some of the basic uses and algorithms that comprise machine learning. One of the projects we attempted was to use a couple of very outdated Evolution Robotics ER1 robots to implement a machine learning task. The problem was the robot hardware and software were both so out of use and in bad repair that they were very difficult to use for the task at all. After the class concluded I came back to see what could be done to make the robots somewhat functional. What I decided to do was use Processing and it’s free extension libraries to connect with and control the ER1 through the provided telnet API and the ER1 Robot Control Center (RCC). I successfully started that project last year, and attempt now to describe what was done and how it works.
First: The RCC and Processing must be installed on the laptop that is gong to control the robot. RCC should come on a CD or download with the ER1 and Processing is freely available from their website.
Second: The RCC must be configured to all API control. This is done by clicking the “Settings” button in the upper left corner, followed by opening the “Remote Control” tab. Then the radio button “Allow API control of this instance” must be selected. The Port defaults to 9000, and leaving is as such worked just fine. Then clicking “OK” should make the RCC ready for API control. If you did this step correctly, upon opening the RCC the message box should say something like “Listening for incoming API requests on port 9000”. In order to control the ER1 through Processing the RCC must be left open, but it can be minimized.
Third: Open Processing and run a sketch that uses the network library to connect to the RCC telnet API. Here is one such example program that I use to verify that the ER1 is connected and functional
import processing.net.*;

Client myClient;

void setup() {
  myClient = new Client(this, "localhost", 9000);
  myClient.write("play phrase \"Hello World!\"\n");
}

void draw() {
  delay(3000)
  myClient.write("play phrase \"I am an E R 1 Robot, who is Here to Help!\"\n");
}
At this point just about anything that can be done in Processing can now be translated over to the ER1 itself. Other telnet API commands can be used aside from “play phrase”. The API is documented in the RCC and this documentation can be found by opening the RCC, clicking on the “Help” button in the upper left corner, then by opening the section titled “ER1 Command Line Interface”.
If instead of using processing you wish to directly enter the command line control commands, open a windows command line, then type “telnet localhost 9000” without the quotation marks and press enter. If a blank black command line opens then you can control the robot from the command line. Have fun!
